
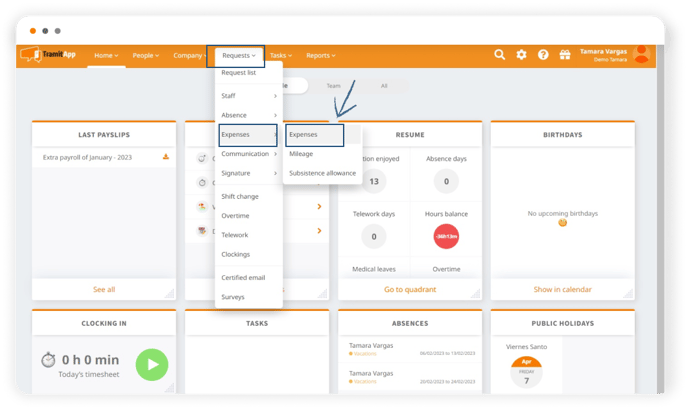
To make an expense claim from the TramitApp web, we enter Requests> Expenses> Expenses.
Here we will fill in the data, keeping in mind that those marked with an asterisk are mandatory, and if we do not complete them, it will not allow us to save the claim. We indicate our name in the next field, indicate the invoice number, select a type of expense from the expense category drop-down. Now we indicate the amount, select the type of currency, indicate if this expense was made with a corporate card or not, check that the indicated VAT is correct and if not, modify it.
In the "account" field, we can indicate if this expense should be charged to an account or project. We indicate the name of the supplier and next to it in the CIF field, we enter the supplier's CIF. We add a brief description about the expense.

Then we have the option to attach the ticket or not. The difference between attaching a ticket or not is that if we do not attach the ticket, this expense will carry IRPF retention. We click on Add ticket, indicate that the document type is a receipt, and click on upload document.
The ticket is uploaded to us and we click on Save to save the claim and the expense would now be recorded.
At this moment, our responsible party will have received a notification informing them of the creation of this expense claim and it will be pending approval. To review this expense, we would only have to click on Requests> Request List, in the Expenses tab, and see the expense we just created as pending.